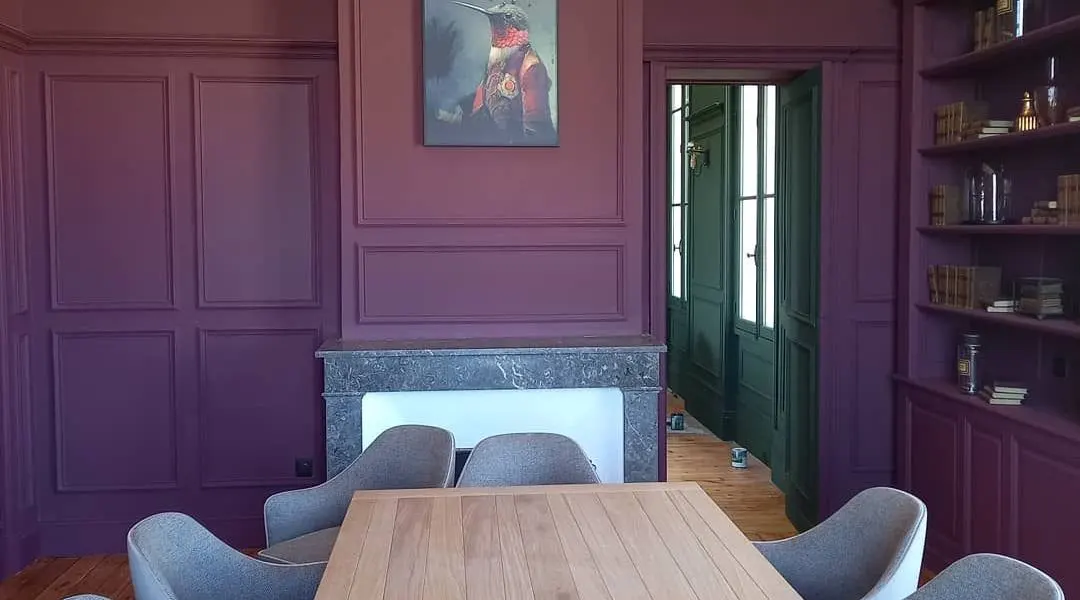
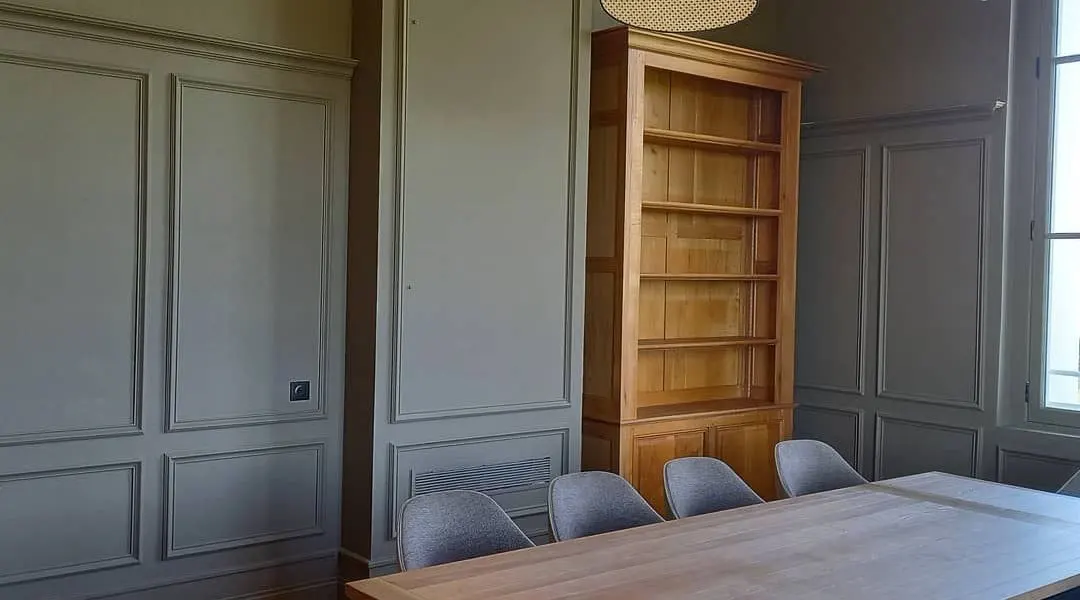
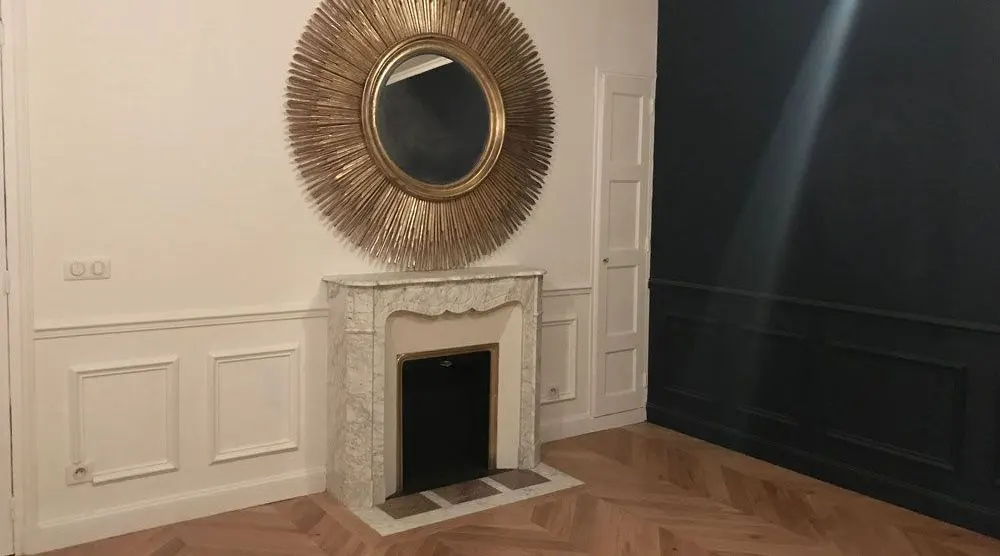
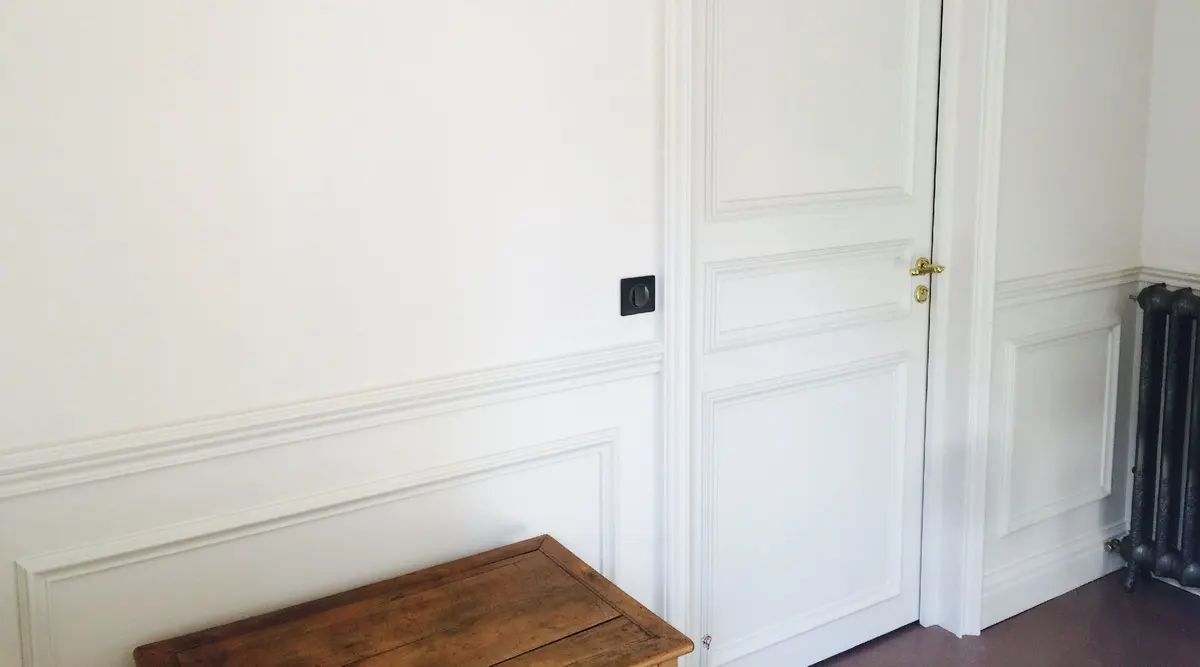
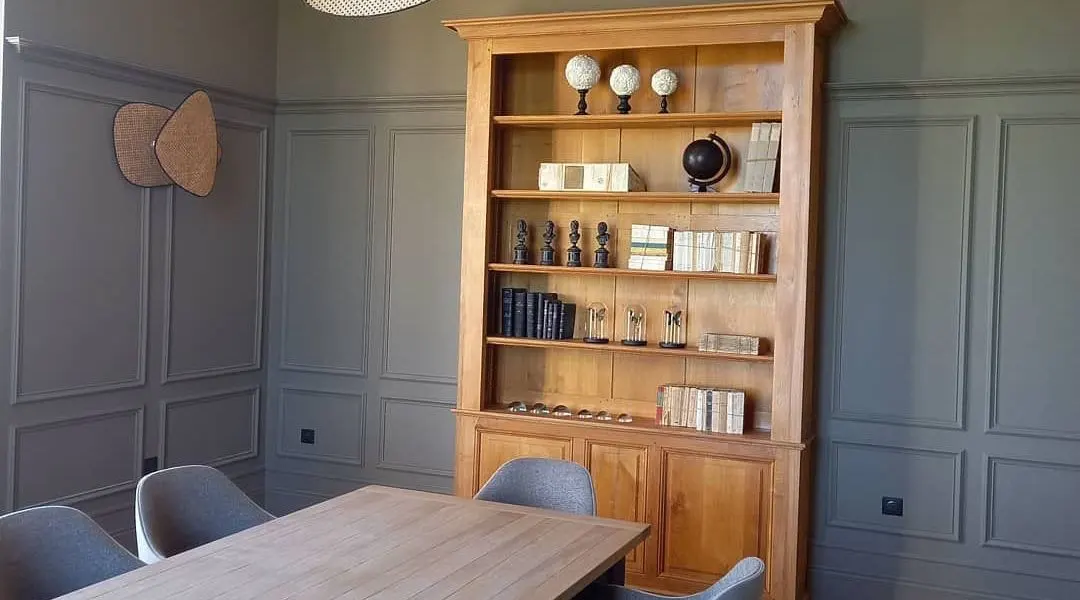

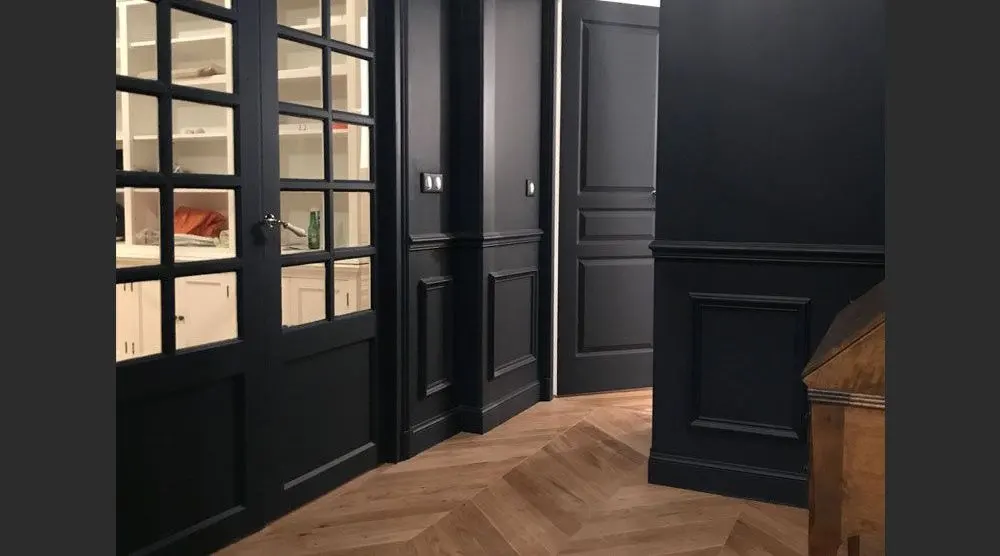
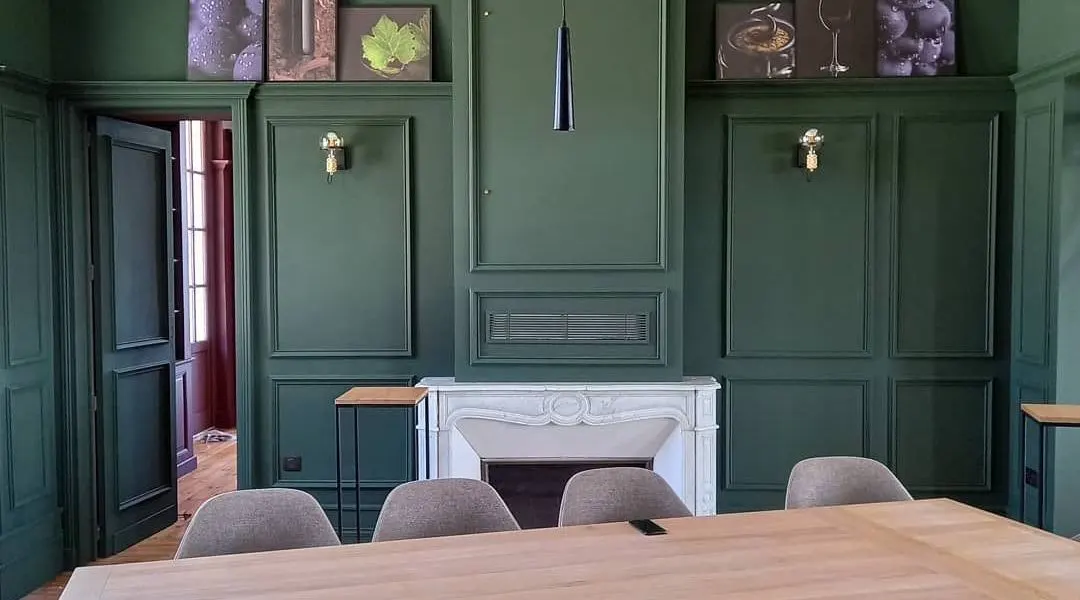
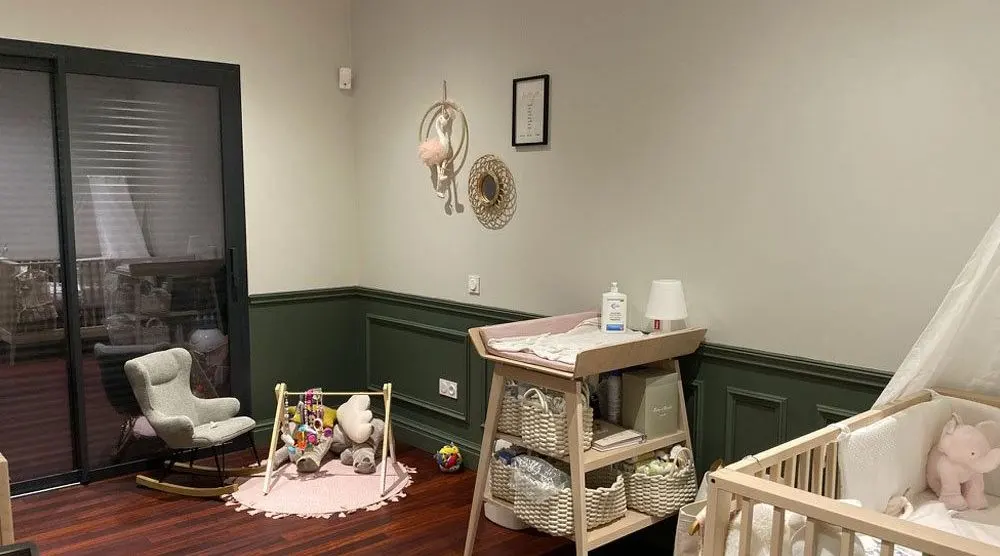
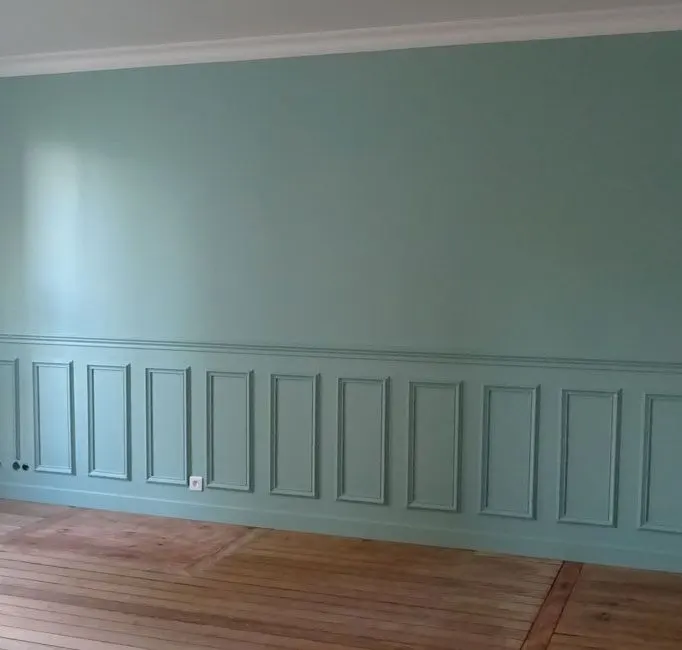
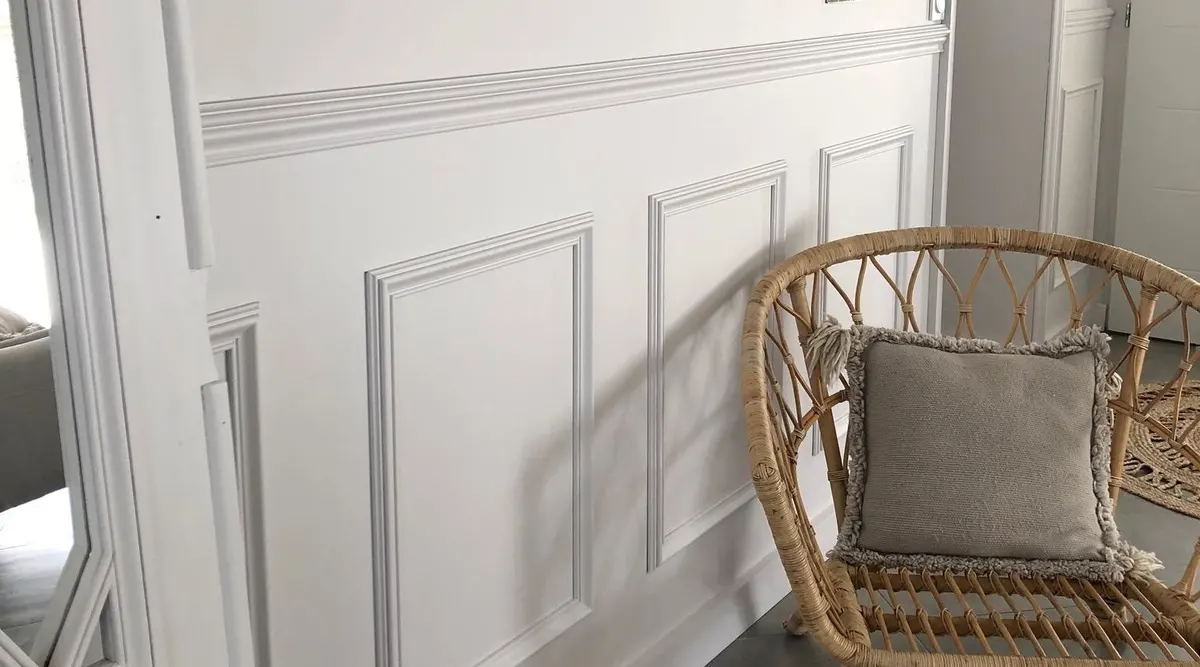
Leave the moldings in the installation room for at least 48 hours, without removing them. Maintain a stable temperature, avoid excessive heat and humidity. This step prevents future warping of the wood. Make sure walls and ceilings are clean, dry and dust-free. Repair imperfections: fill holes, smooth uneven surfaces. Remove the wallpaper from the molding attachment points. Apply an undercoat if necessary. Proper preparation guarantees optimal and lasting results. Take the time you need for this crucial step. Fill knots, holes and cracks with wood filler if necessary. Let it dry. Sand to obtain a smooth surface. Apply a primer to all sides of the doorframe molding. Measure the length of the walls to be equipped. Draw reference lines on the wall for the top and bottom of the baseboard. Apply polyurethane glue to the back of the elements. Position them on the wall following your reference lines. Fix with headless nails every 50 cm, alternating top and bottom. Apply an acrylic sealant between the wall and the base frame moldings, and fill the nail holes. Lightly sand the surface to improve adhesion.Use a quality wood paint suitable for the type of wood (hardwood, softwood, MDF, etc.). Apply two thin coats, sanding lightly between each coat. Allow to dry completely between applications. Harmonize the color of the base with the other elements of the room. Make sure the style of the base complements the architecture of your interior. Coordinate the height of the base with other horizontal elements of the room. Adapt the base according to the volume of the room and the ceiling height, allowing customization for each space.