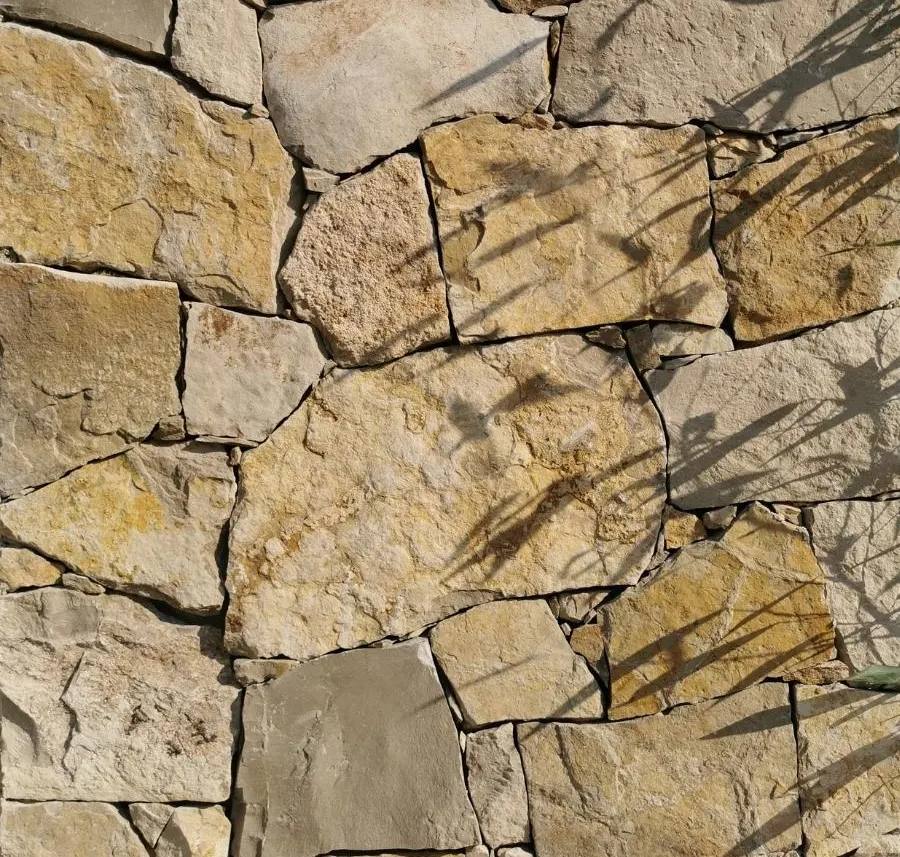
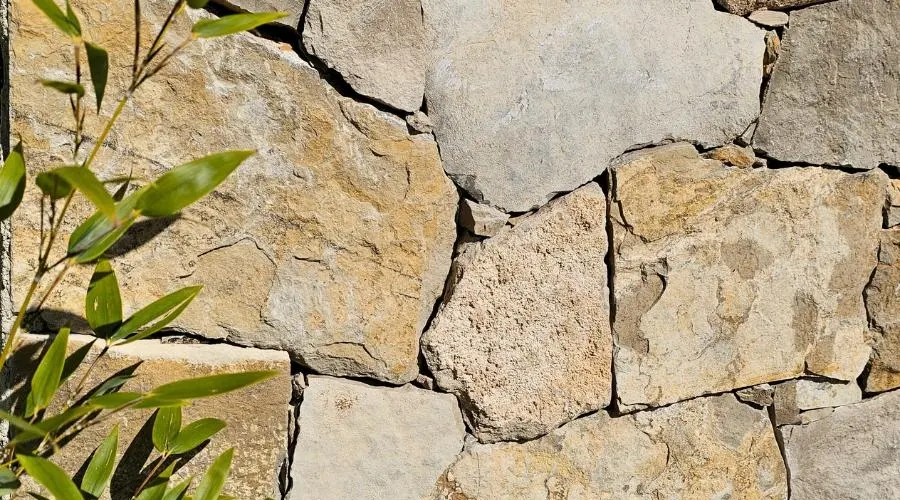
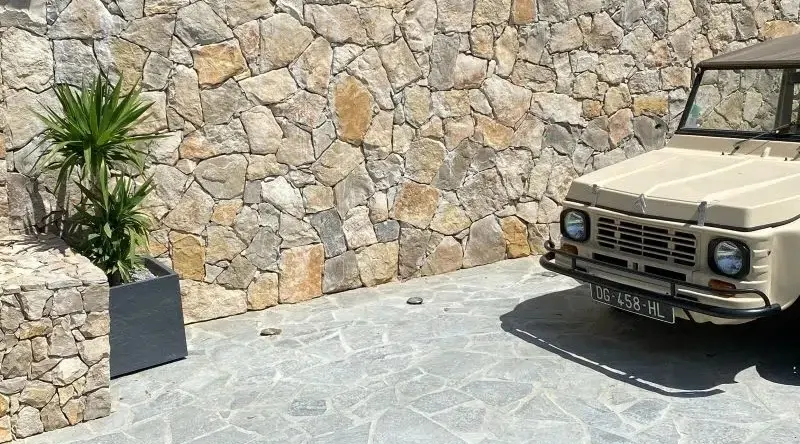
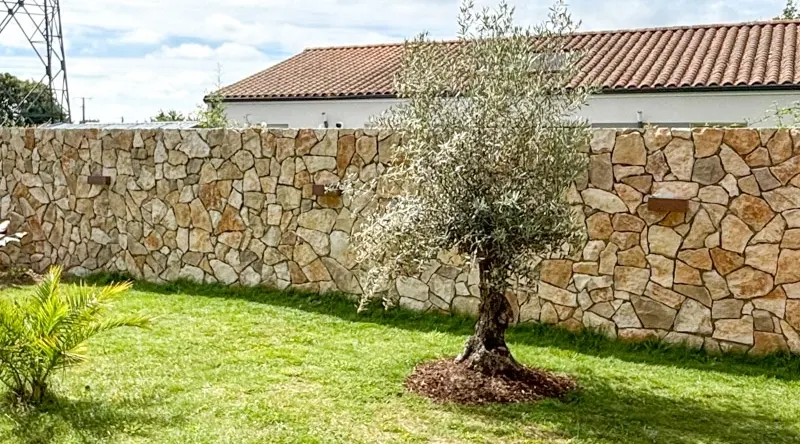
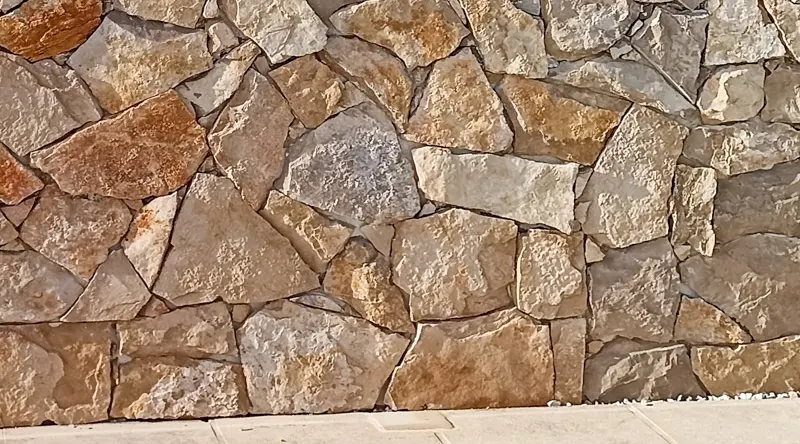
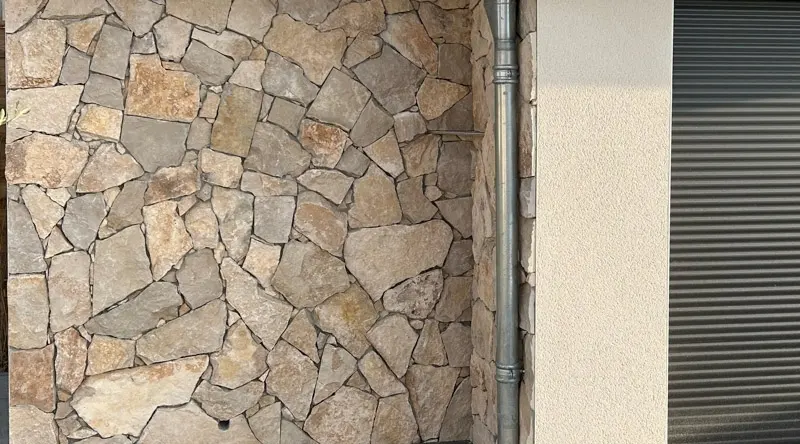
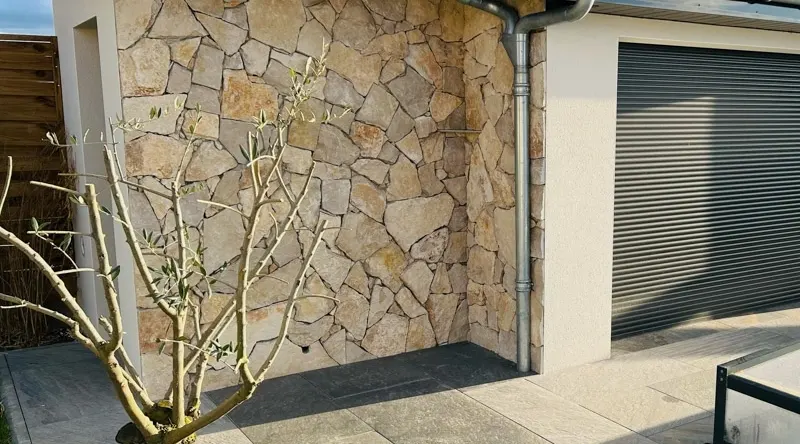
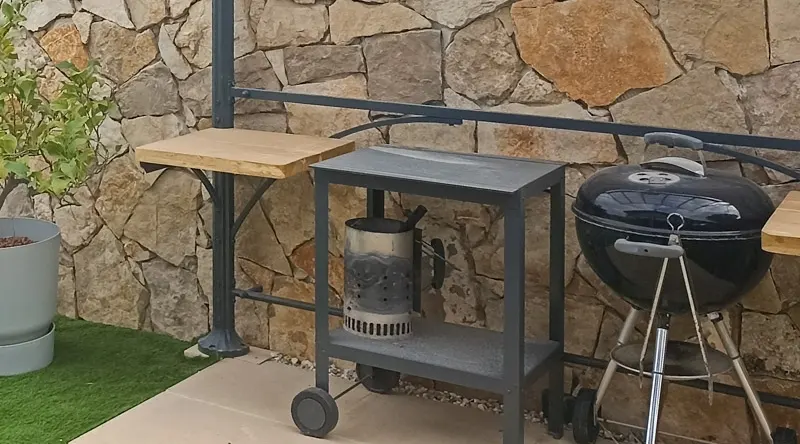
Make sure the surface is clean, dry and flat before you begin. Use all-stone adhesive and apply it to the wall as well as to the back of the facing for better adhesion. Start by placing the stones at the bottom of the wall, alternating the sizes of the stones for a more natural look. Make sure that each stone is firmly pressed against the adhesive. Once the stones are in place, prepare the facing grout and then apply it over and between the stones. Don't hesitate to cover the stones well to ensure a uniform finish. When the grout begins to set, remove the excess with a trowel or damp sponge. You can adjust the appearance by scraping more or less of the grout to expose the stones to your liking. Once the joint is dry, spray your cladding with water repellent to ensure its watertightness. Advice: The color of the stones can vary depending on the light, the type of grout chosen (we recommend a facing grout), and how it is textured. Play with these elements to achieve the desired look. Taking your time during installation and grouting guarantees an optimal and satisfactory result