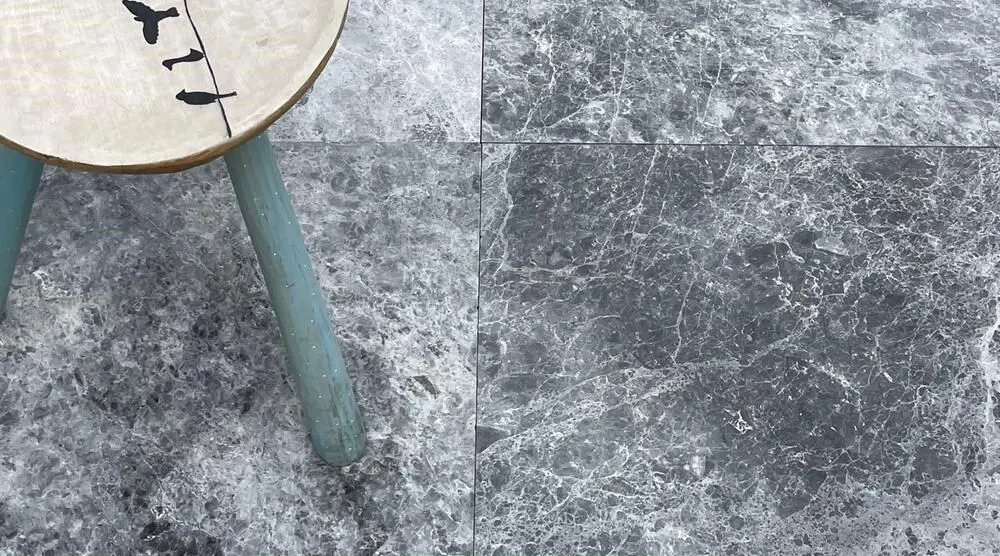
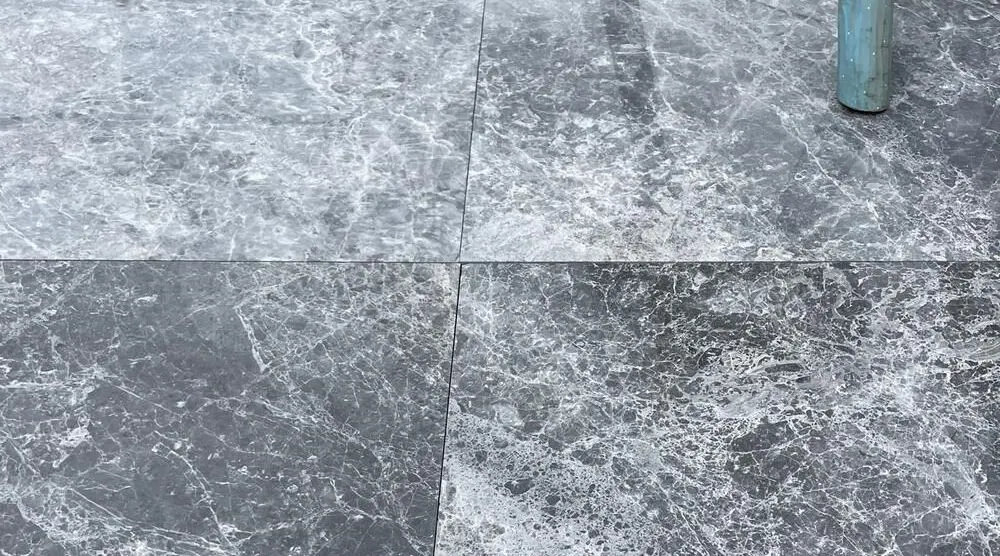
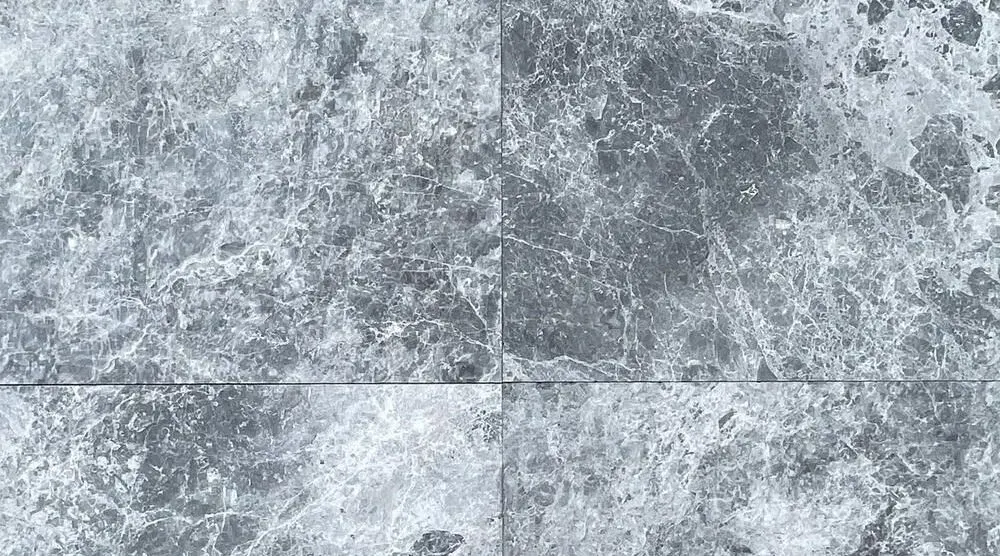
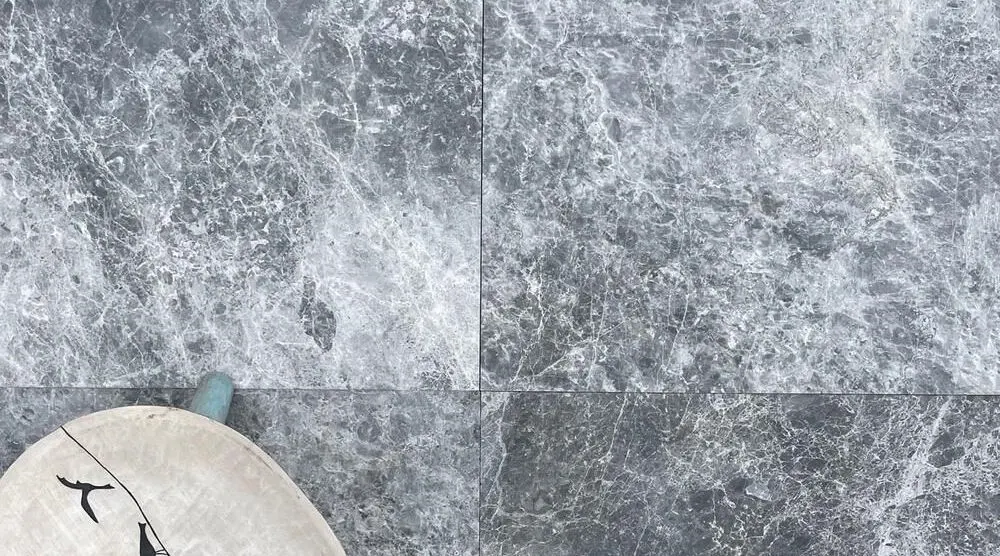
- Application Filter
- Bath|Facade|Flooring|Flooring/Wet Area Flooring|Kitchen|Wall
- Installation
- Tundra Dark Marble Tiles are laid out with the back butter technique. The installation steps include: 1. Surface cleaning: use an industrial vacuum cleaner to remove debris. The surface must be clean, flat, dry, smooth, and load-bearing. 2. Measure the surface and calculate how many tiles will fit in. Thus, you will estimate the tiles that will need to be cut to fit the space. Plus, it is recommended to have a sketch of your decoration project. 3. First, simulate a dry assembly: layout a full/partial row of tiles over the surface and establish how to cut the edge tiles (those that will not fit). Number the tiles on the back. 4. Check out the finish and colors, and then decide on the layout. In case you want a layout pattern, simply lay out the tiles accordingly, simulating a dry assembly. Make sure you achieve the desired color layout. 5. Installing conditions need to be fulfilled: dry tiles (kept away from atmospheric humidity for at least 24 hours before installation), installation temperature: 5 - 25 °C (indoor and outdoor), standard humidity. 6. Choose and prepare the adhesive according to the manufacturer's instructions. Weberset Marmo Plus, Weberset Porcelain Max², or Weberset Superflex Max² are recommended. 7. Start the assembly. Spread the adhesive evenly on the surface with a notched trowel. Find out the adhesive cure time, and apply it on smaller surfaces so that it does not cure before laying out the tile. Apply the adhesive onto both the backing surface and the tile. For cladding wet areas, minimum adhesive coverage of 95% is needed. Large tiles may develop bumps or deformations during installation. These faults can be compensated by adhesive. Deep grooves will be practiced over the tile surface with a 10-20 mm notched trowel. The adhesive is applied by the back butter technique, to ensure perfect adhesion. The adhesive is applied in a straight direction to avoid curved shapes. A string of small parallel grooves is obtained, which will allow the laying of the tiles. For rectangular tiles, apply the adhesive so that the grooves are transversal to the board width. All these operations aim to increase adhesion. 8. Start the tiling in one corner to make sure your tiles are properly aligned. Layout the tile directly over the surface and press gently, while moving it slightly back and forth without rotating it. The surface should be flat and a rubber mallet can be used to complete the installation. 9. The cladding project can be completed with or without joints, yet you will need to have expansion joints (depending on surface area). Lay out the full-size tiles first, and save space at the edge of the tiling surface. After fitting the tiles, remove excess adhesive with a damp sponge. Joint assembly is recommended for underfloor heating areas. Interior standard joints should have 1-2 mm in size. 10. Allow the tiled surface to air dry for at least 12 hours/according to the adhesive user’s instructions, without stepping on it during this time. 11. After installing the full-size tiles, you will need to take care of all the uncladded areas near edges/next to hard-to-reach areas. For this, your tiles should be cut to size. Measure the tiles to be cladded and have them cut out while making sure you still have edge gaps. It is recommended to use a tile-cutting machine equipped with suitable discs. 12. Cut out the marked tiles, allow them to air dry, and lay them out by the same procedure. 13. Allow the surface to air dry (for 24 hours) without stepping on it. 14. Tiles with joints need to be grouted. 15. After grouting, remove the excess grout and allow the surface to air dry for 24 hours. 16. Wash the surface with clean water
- Recommended Grout
- Weber Color Comfort - Flexible wall & floor grout